You’ve chosen the right leak test method. Your system is calibrated. The parts are sealed. And yet… results are inconsistent, failures keep cropping up, and confidence in the test is fading. If this sounds familiar, you’re not alone.
Across industries, process and product engineers encounter the same frustrating pattern: a well-specified test that doesn’t deliver reliable results. More often than not, the issue isn’t the test method, it’s the mechanical setup around it.
Here are three of the most common design flaws that sabotage leak test reliability, and how to fix them.
1. Long Hoses and Dead Volumes
The Problem:
In some test setups (especially retrofits or flexible lines) long hoses are used to connect fixtures to test units. This adds unnecessary internal volume, which:
- Increases test cycle time
- Makes it harder to detect small leaks
- Creates dead zones where air or helium can linger
These volumes act like “shock absorbers,” dulling the pressure or vacuum changes that the test system is trying to detect.
The Fix:
Keep hose lengths as short and direct as possible. Mount the test instrument close to the fixture, and avoid using oversized connectors or Y-junctions. If flexibility is required, modular test carts with integrated short hoses are a practical compromise.
2. Poor Fixture Sealing and Clamping
The Problem:
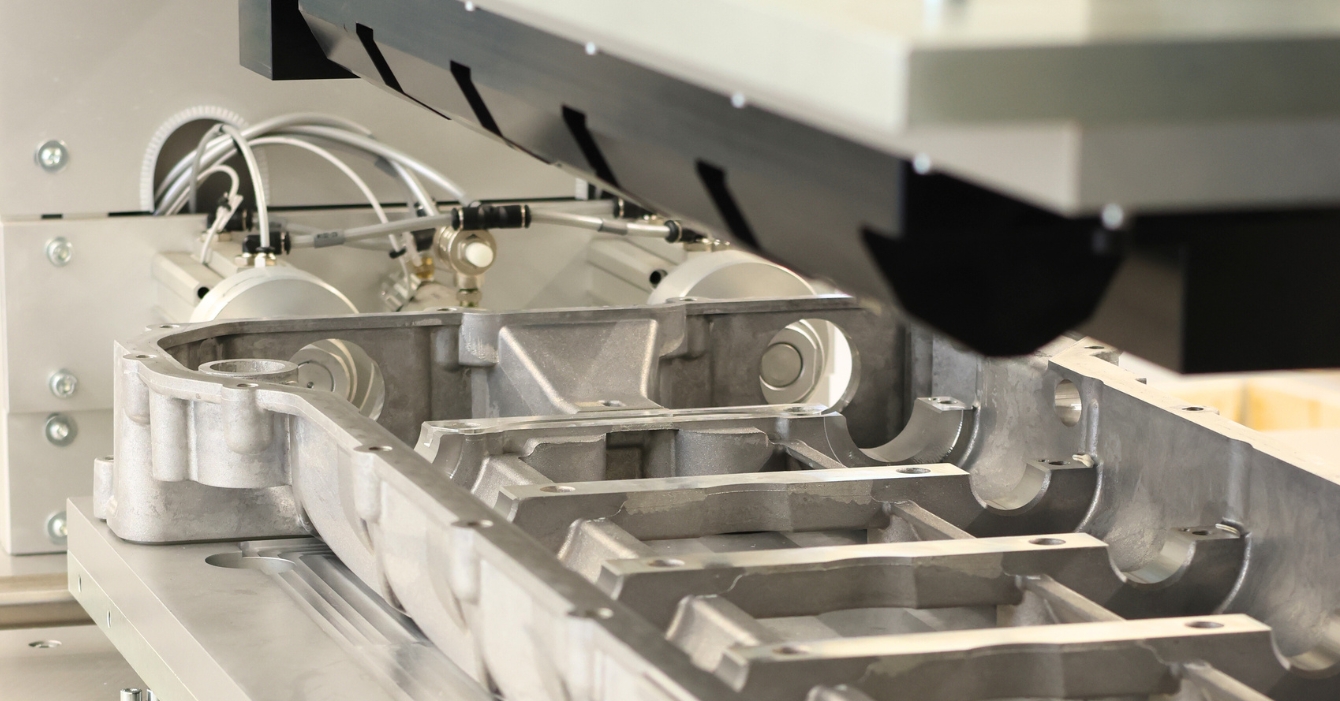
Test reliability depends on consistent, repeatable part presentation. If a part is clamped too loosely, tilted, or sits against a worn seal, it can leak around the test area or fail the test entirely even though it’s a good part.
We’ve seen this issue arise in both manual and semi-automated setups, particularly with soft-seal or O-ring clamping tools.
The Fix:
Invest in robust, guided fixtures with repeatable mechanical stops. Use hard-tooled nests where possible, and regularly inspect or replace seals. Consider automated clamping for critical tests to eliminate operator variability.
Nolek works closely with customers to design or improve fixtures that hold up under production demands while maintaining seal integrity.
3. Material Mismatches That Skew Results
The Problem:
Materials used in fixtures or test environments can absorb gases, expand under heat, or introduce trace leaks. Common culprits include:
- Porous plastics or 3D printed components
- Flexible tubing that expands under pressure
- Sealants or tapes that degrade over time
These materials introduce variability into test results, especially with helium or high-sensitivity applications.
The Fix:
Use non-porous, stable materials like aluminium, stainless steel, or certified elastomers. Avoid mixing metals that expand at different rates under heat. For helium testing, ensure all materials in the gas path are low-absorption and compatible with clean-room use.
Nolek can review your fixture BOM and recommend upgrades to reduce variation and ensure stable long-term performance.
Final Thought: Your Test Is Only as Good as Your Setup
Even the most advanced leak test system can be undermined by mechanical design flaws. The good news? These issues are fixable with the right engineering insight and support.
That’s why at Nolek, we go beyond supplying test equipment. We help you fine-tune your setup, optimise fixture design, and build test environments that deliver fast, repeatable, and accurate results.
What’s Next?
Let’s take the guesswork out of your testing setup.


